Availability: 43 in stock
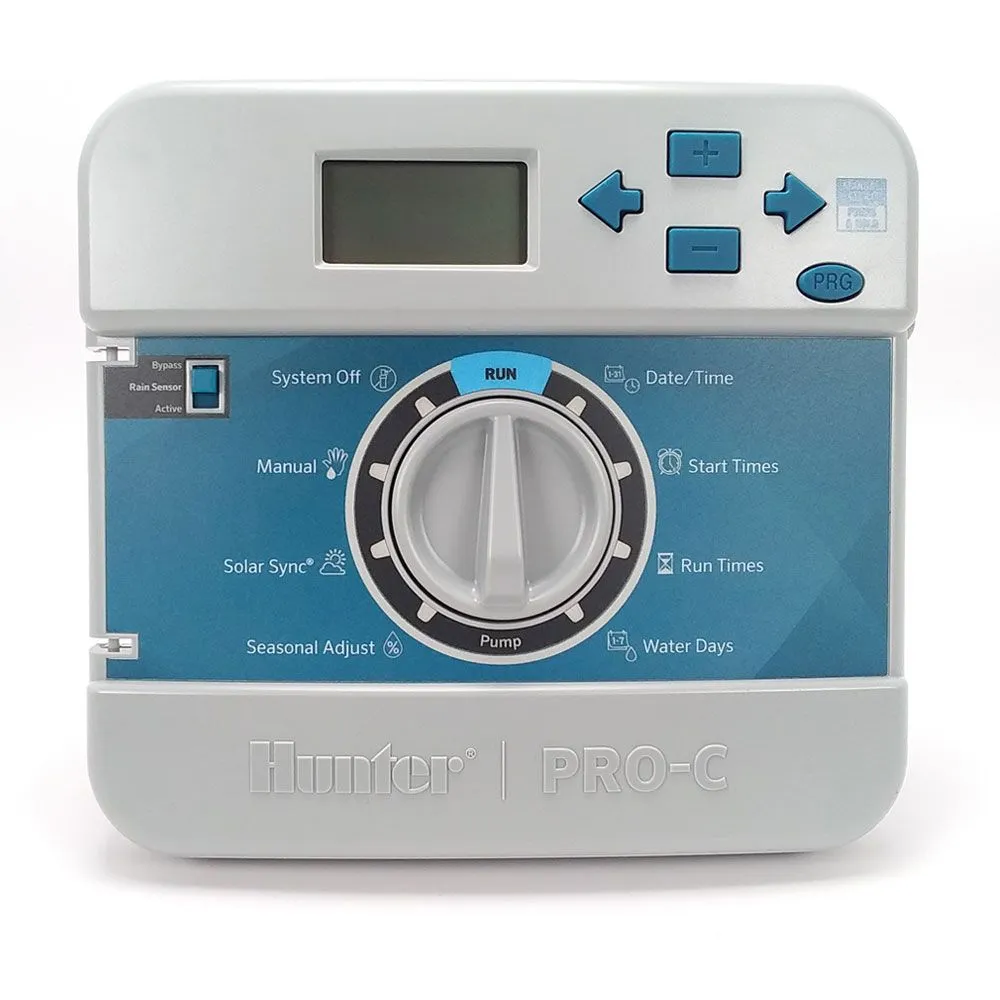
This Pro-C panel is compatible with production models 2014 to current. Compatible controllers all PC-400 and new style PCC models. The number of stations for the Pro-C are 4 – 16, PCC 6 & 12.
*Note: The Pro-C controller is truly modular in design. This means that most components of the controller can be removed and replaced if needed. For the newer style Pro-C (blue panel and buttons) the part number for the front panel is 821501. The part number for the older style Pro-C controllers (green buttons) is 526200.
| Step 1 | Step 2 |
|---|---|
|
To remove the Pro-C’s front panel, start by removing all power from the controller. Unplugging the transformer or shutting off the circuit breaker will be necessary to do this properly. |
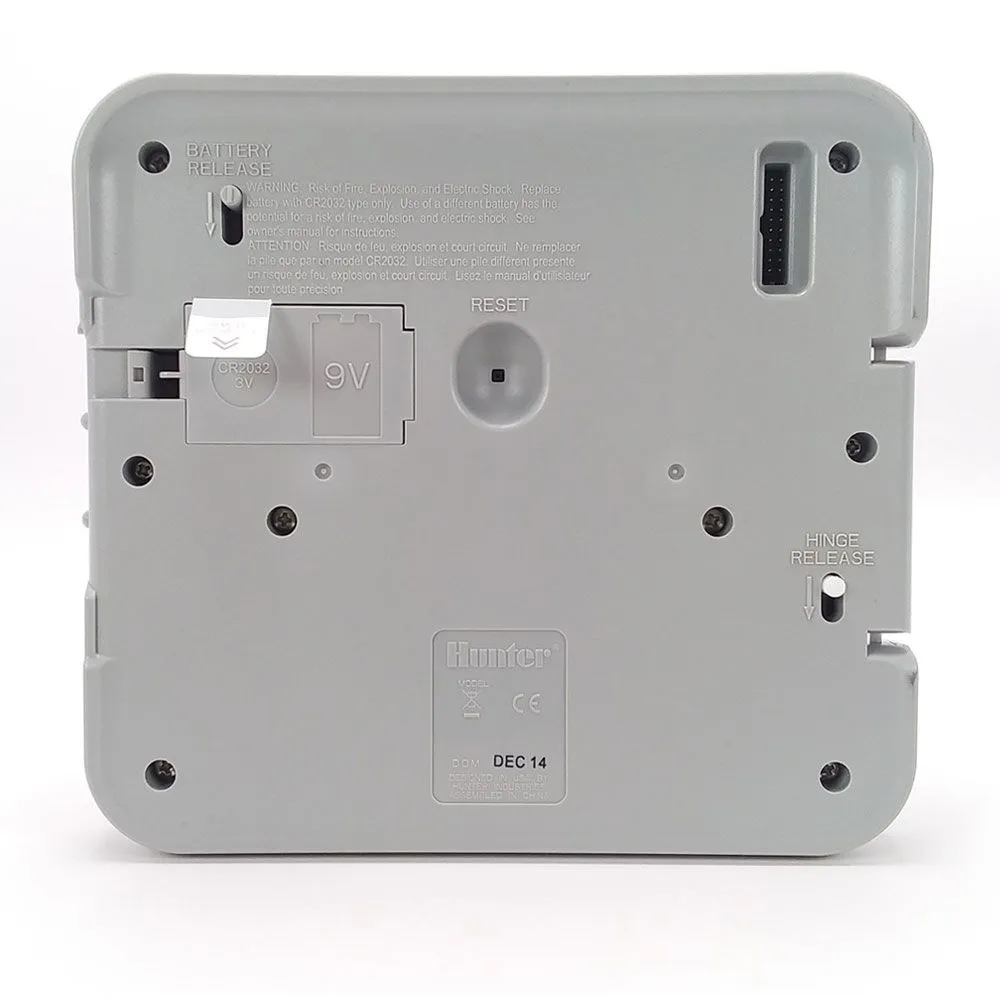
Open the front panel similar to how the controllers door opens, this should expose the battery compartment on the back of the front panel. |
| Step 3 | Step 4 |
|
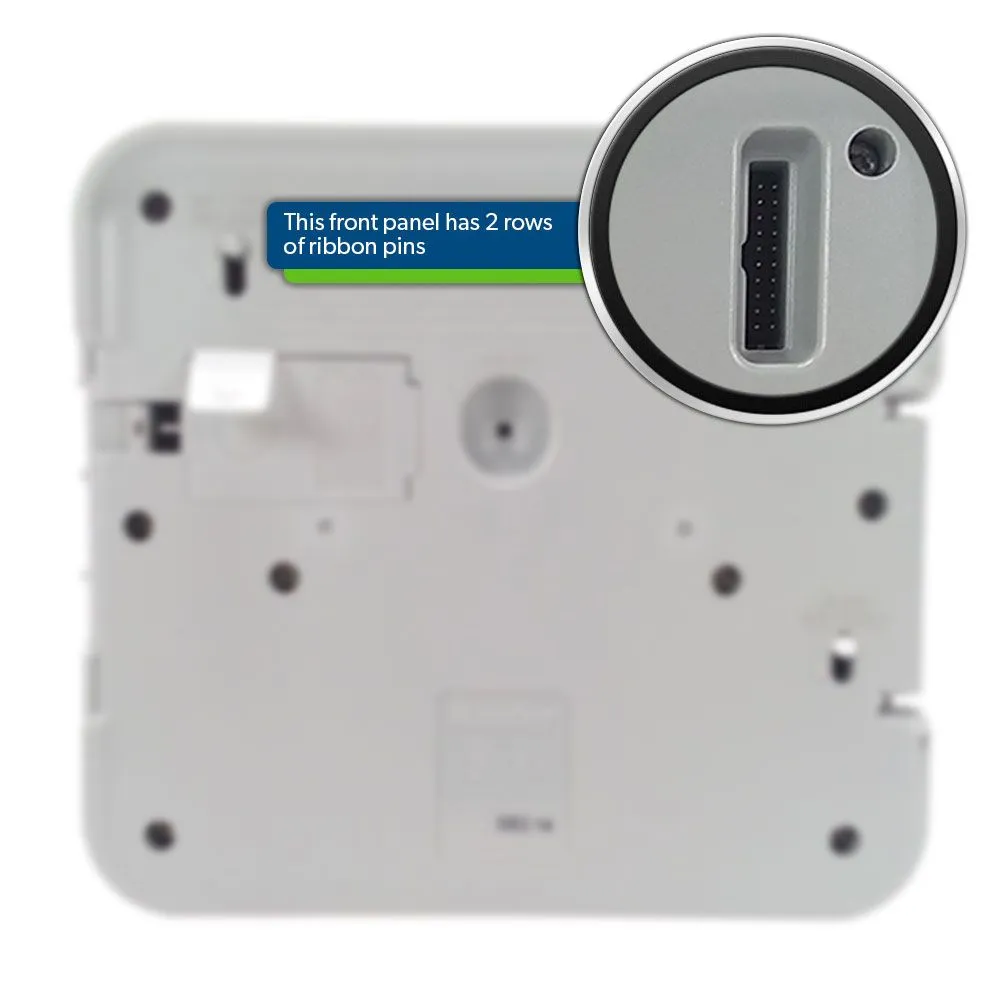
Locate the gray ribbon cable in the upper right corner on the back of the front panel. |
Disconnect the ribbon cable from the back of the front panel by carefully pulling the plastic cable connector off the back of the front panel. |
| Step 5 | Step 6 |
|
Locate the Hinge Release switch below the ribbon cable connector on the back of the control panel. Push down on the white tab, the hinge pins will retract and allow the front panel to come free from the cabinet. |
After the panel is removed you can reverse this process to install the new face panel. |
| Brand | Hunter |
|---|---|
| Product Type | Controller Repair Parts |
| Front Panel | Yes |
| Warranty | 2 Years |
| Controller Compatibility | Pro-C and HPC |